BTTC NFT Tutorial
Please refer to Simple NFT Example on BTTC Donau Testnet to check how to build, mint, and send around your own ERC721 with BTTC Donau testnet!
Quick Start
Required: Node plus Yarn and Git
Optional: IPFS
App Configuration
Open Terminal and build the project, please install node in advance
git clone https://github.com/Jama55/simple-nft-bttc-donau simple-nft-example
cd simple-nft-example
git checkout simple-nft-example
yarn install
yarn start
in a second terminal window, start your frontend
cd simple-nft-example
yarn chain
in a third terminal window, deploy your contract, use localhost as your network
cd simple-nft-example
yarn deploy --network NETWORK_OF_CHOICE (localhost, bttc_donau)
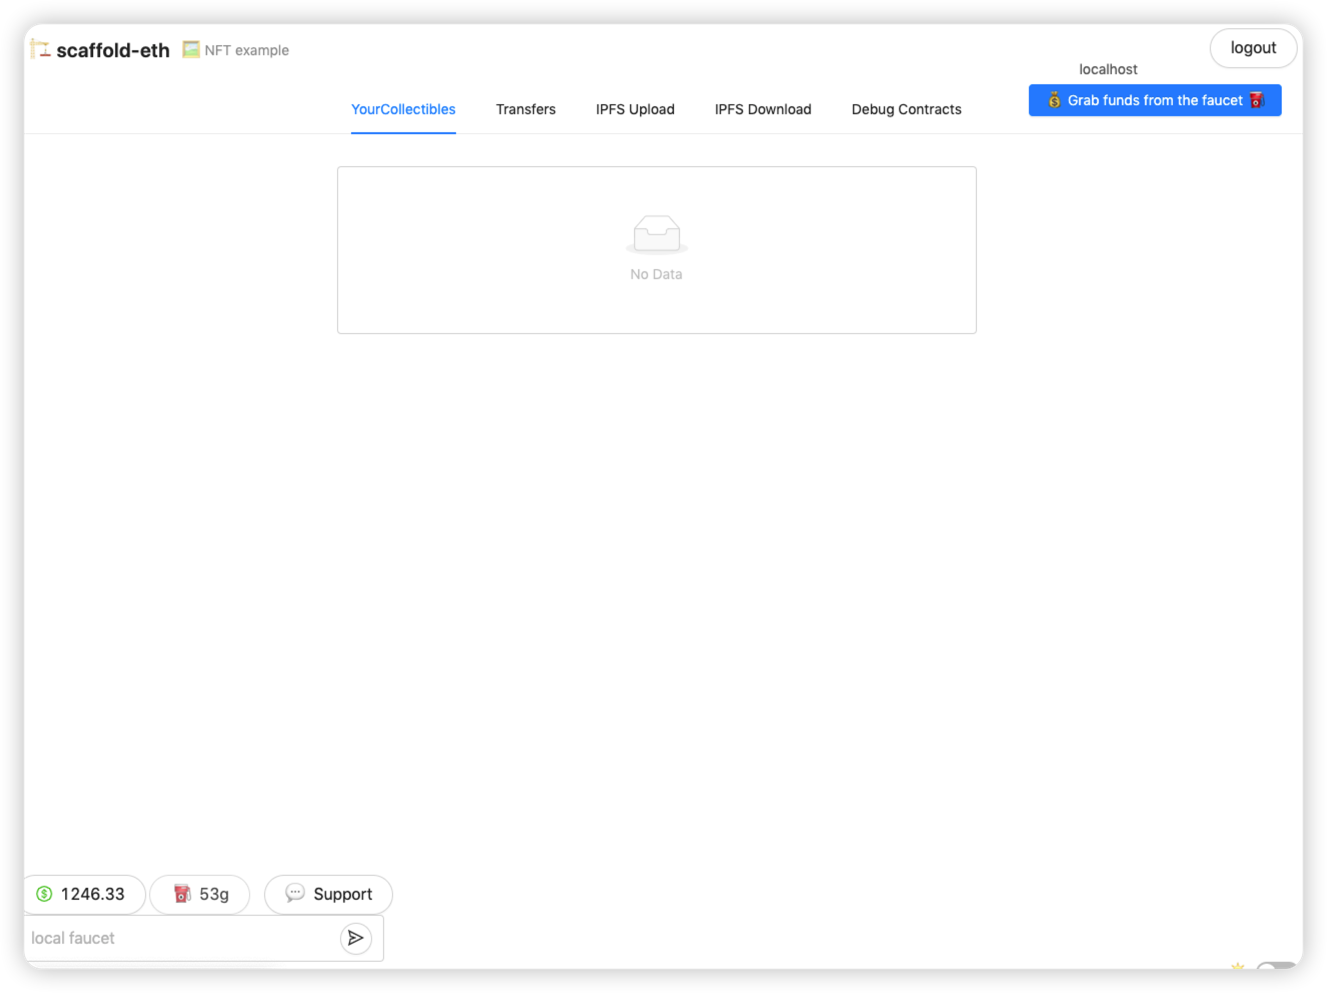
Open http://localhost:3000 to see the app.
Config IPFS
If you don't have an Infura IPFS project, please use desktop or command-line version of IPFS. You'll need to edit below scripts to fit your needs.
IPFS API & port -> packages/react-app/scripts/ipfs.js
const localhost = {
   host: 'localhost',
   port: '5001',
   protocol: 'http',
   path: 'api/v0'
};
Mint the token will require uploading to IPFS -> packages/hardhat/scripts/mint.js
const ipfs = ipfsAPI({
  host: '127.0.0.1',
  port: '5001',
  protocol: 'http',
  path: 'api/v0'
});
The frontend's test upload will use IPFS as well -> packages/react-app/src/App.jsx
const ipfs = ipfsAPI({
  host: "localhost",
  port: "5001",
  protocol: "http"
 });
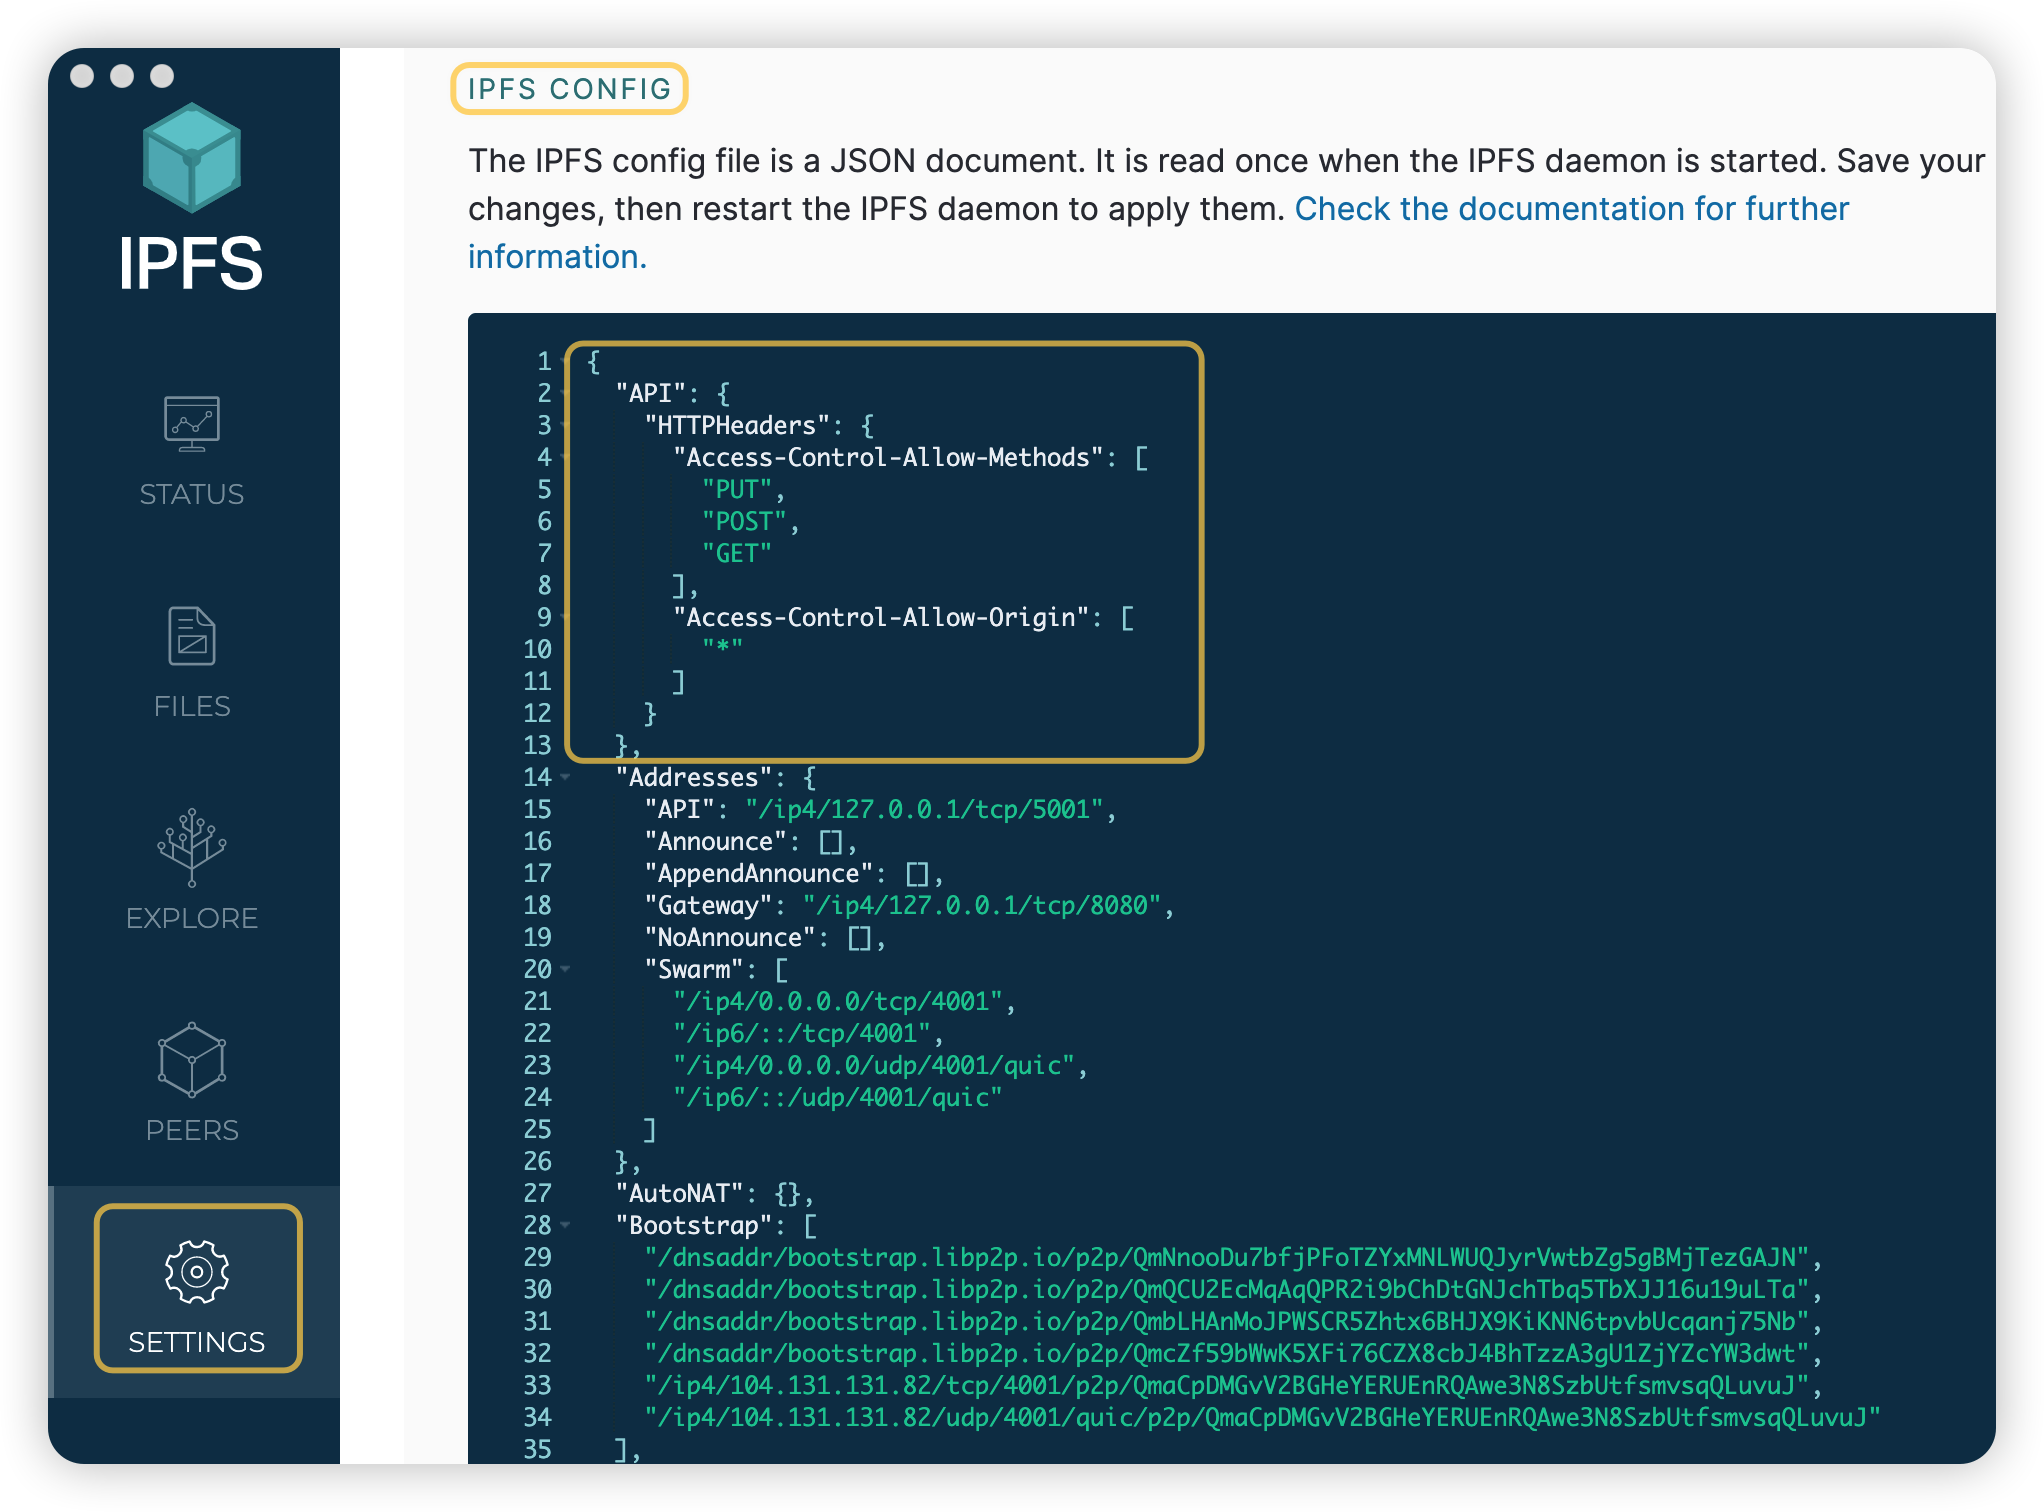
There might be CORS problem,change the config file of IPFS
ipfs config --json API.HTTPHeaders.Access-Control-Allow-Origin '["your whitelist address", "http://localhost:3000", "http://127.0.0.1:5001"]'
ipfs config --json API.HTTPHeaders.Access-Control-Allow-Methods '["PUT", "POST"]'
Desktop version please go to Settings and change the IPFS CONFIG section, don't forget to save and restart the service.
For Infura IPFS project,change the project ID and secret in mint.js and App.jsx
const projectId = 'YOUR INFURA PROJECT ID';
const projectSecret = 'YOUR INFURA PROJECT SECRET';
Mint NFT
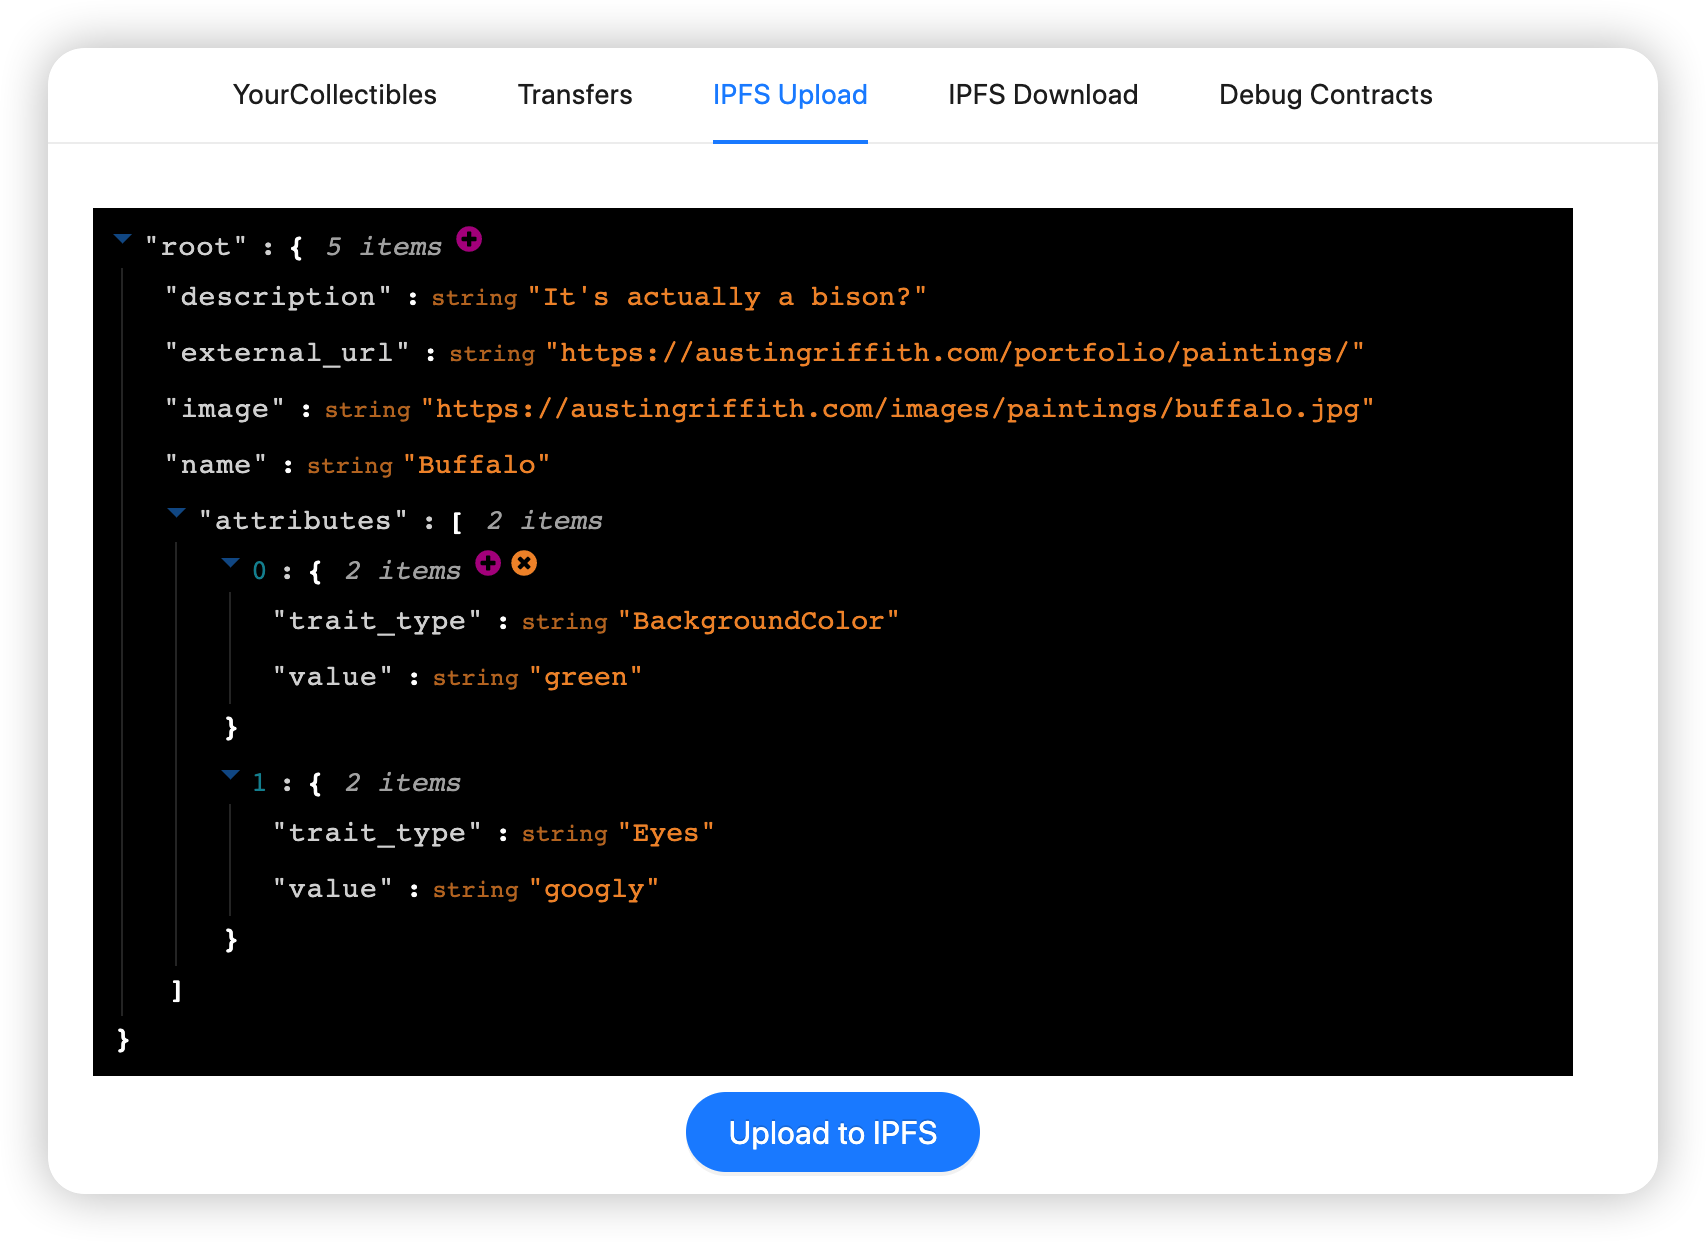
After the IPFS configuration is done, go the the frontend and test upload a file to IPFS, make sure the service is up and running.
Before minting, go the mint.js script and change toAddress linked in the localhost:3000, you could use MetaMask or other wallets. Then we go back to the terminal and start minting NFT.
yarn mint
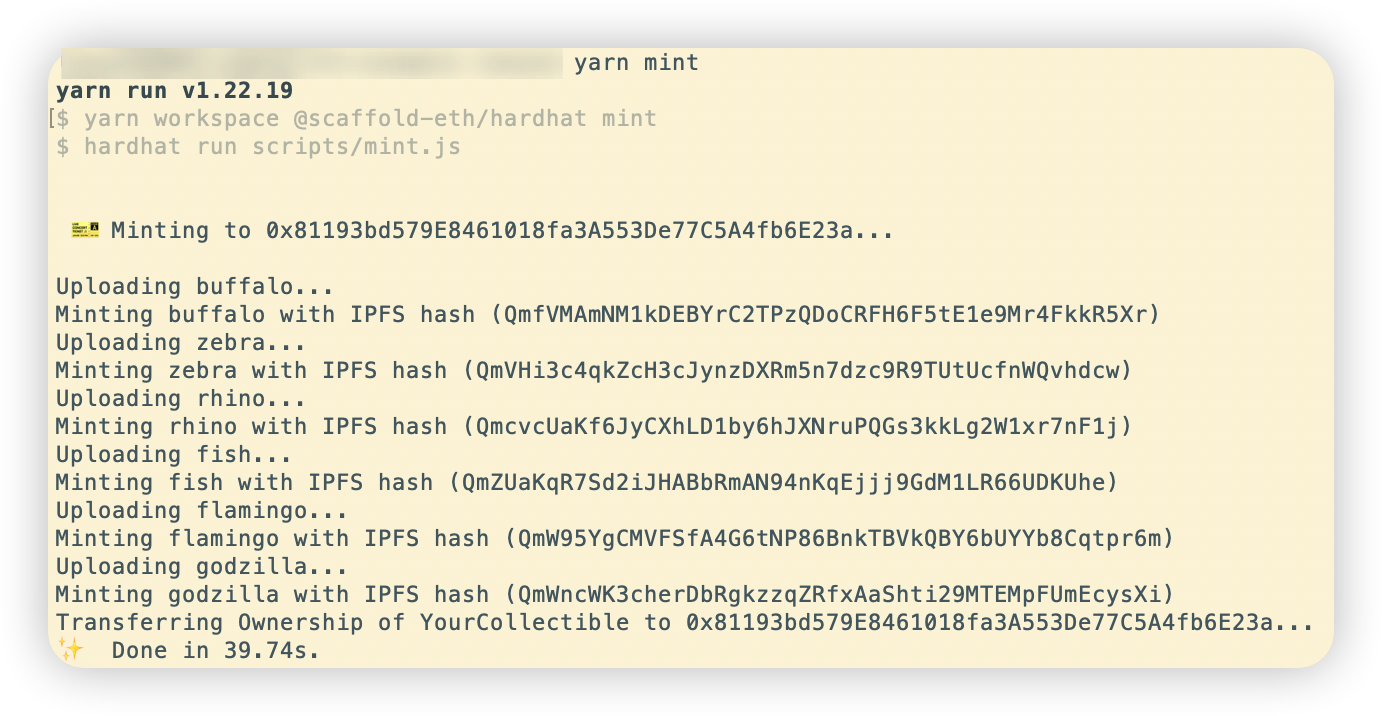
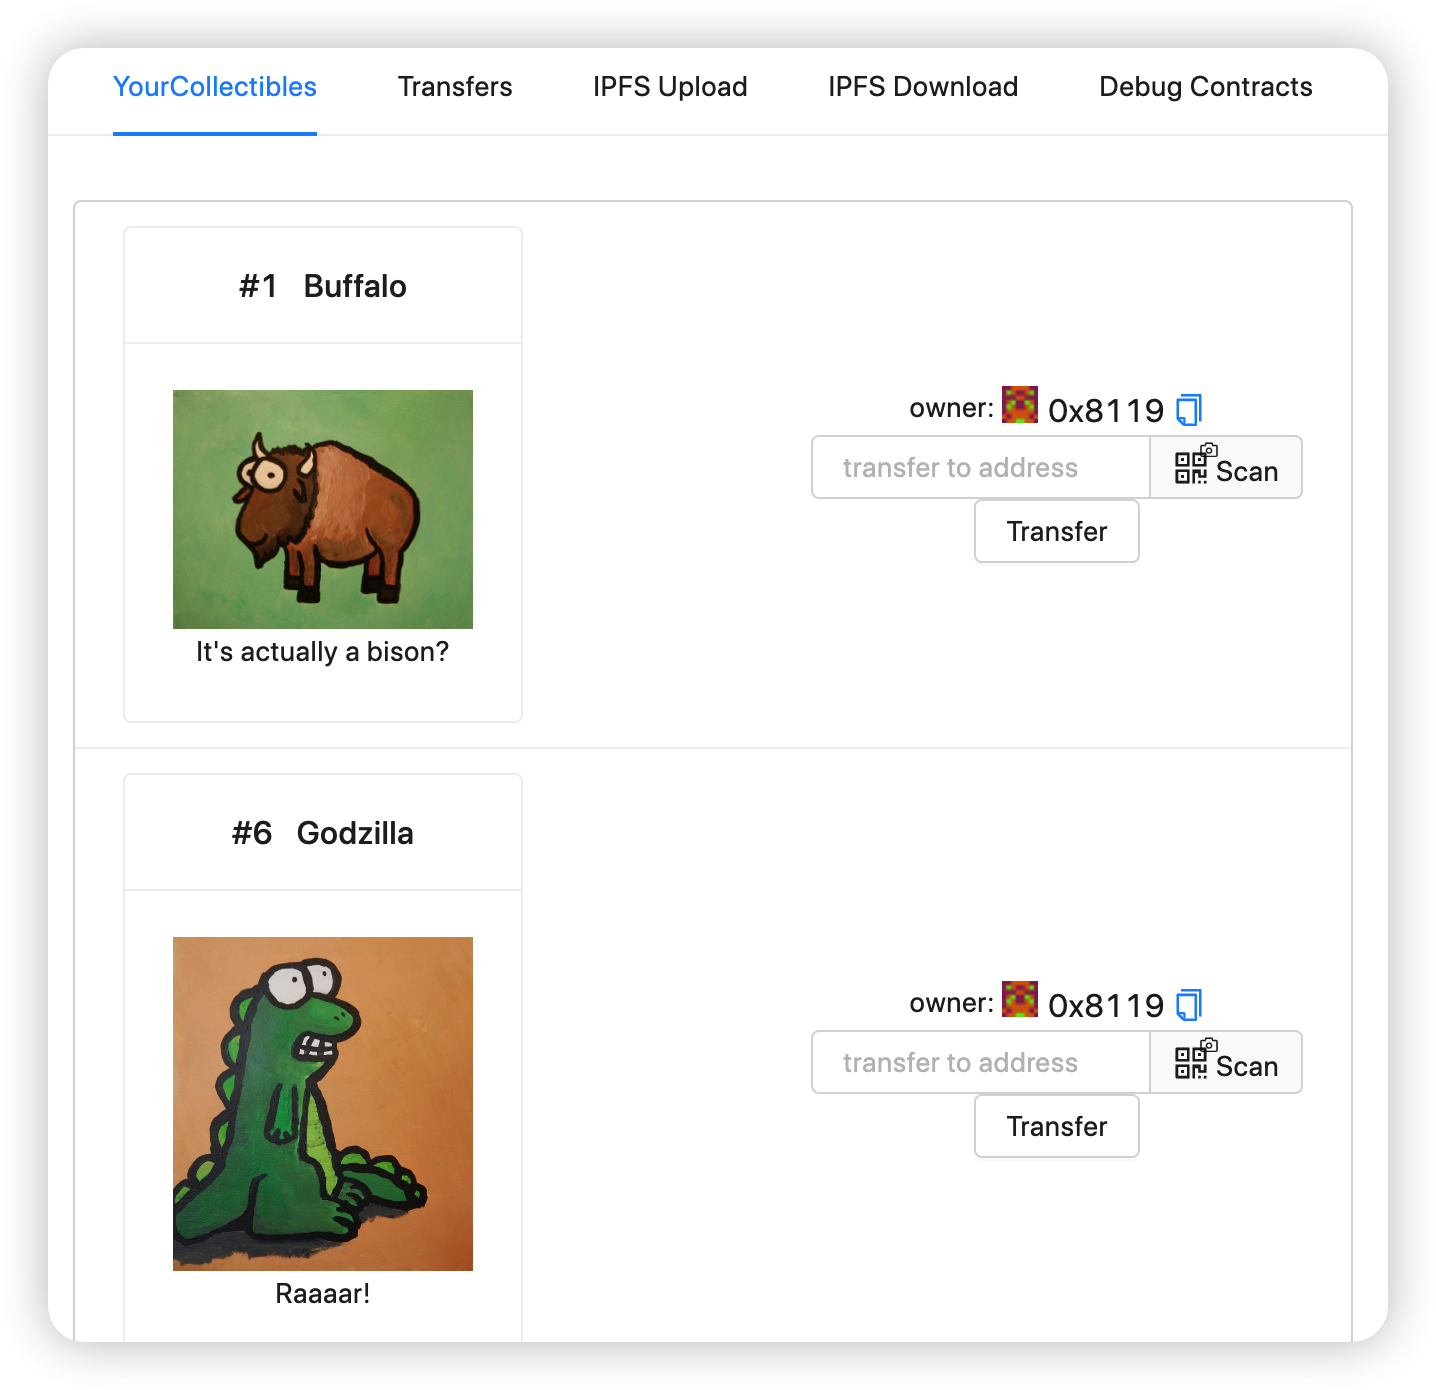
After the NFTs are minted, try to send around the token (in congnitive window).
Deploy the Contract!
Configuration for BTTC Donau testnet
Let's move from the localhost to the real world, take BTTC Donau testnet as an example.
Firtst edit packages/hardhat/hardhat.config.js
donau_bttc:{
   url: "https://pre-rpc.bt.io/",
   gasPrice: 300000000000000,
   accounts:{
      mnemonic: mnemonic(),
   },
}
// Change default network,from localhost to BTTC testnet
const defaultNetwork = "donau_bttc";
Edit packages/react-app/src/constants.js as well
donau_bttc: {
   name: "donau_bttc",
   color: "#e8a094",
   chainId: 1029,
   rpcUrl: `https://pre-rpc.bt.io/`,
   faucet: "https://testfaucet.bt.io/#/",
   blockExplorer: "https://testscan.bt.io/",
}
Modify App.jsx to change the default deloying network
const targetNetwork = NETWORKS.donau_bttc;
Generate Account to Deploy Contract
First run yarn generate and get a new address. View account info & QR code with yarn account, you'll need to fund this account.

Go to the Faucet and get some test BTTs.

Deploy the contract on Donau testnet, if there's any warning related to insufficient gas, please follow the instruction and increase gasPrice or gasLimit.
yarn deploy --network bttc_donau
Mint NFT
yarn mint
Go the chain explorer to view your transaction or follow the Original tutorial and ship your app.
Notes
Inspect the Debug Contracts tab to figure out what address is the owner of YourCollectible?
Edit your deployment script deploy.js in packages/hardhat/scripts
Edit your smart contract YourCollectible.sol in packages/hardhat/contracts
Edit your frontend App.jsx in packages/react-app/src